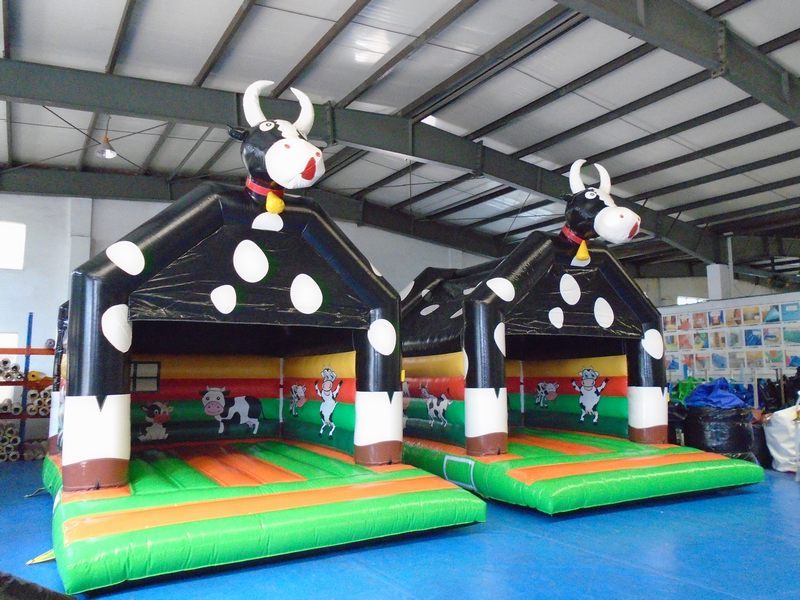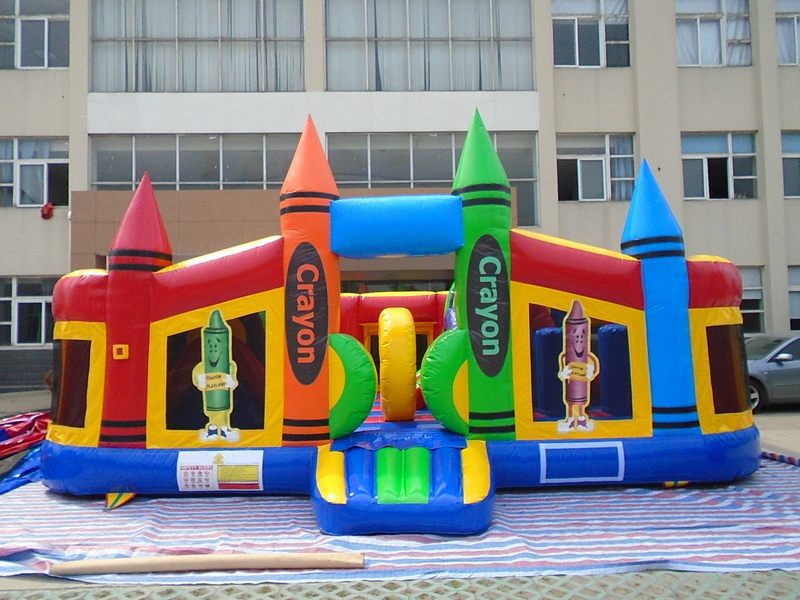
Jumping castles can be a hit at both indoor and outdoor events, but the setup process can differ a bit depending on where you’re installing them. While the general steps are similar, there are a few key differences you should keep in mind to ensure safety and proper installation. Here’s a breakdown of what to expect for both indoor and outdoor setups:
Indoor Jumping Castle Installation
Installing a jumping castle indoors is usually a bit easier since you’re in a controlled environment. However, there are still a few things to watch out for:
1. Check the Ceiling Height
One of the first things you’ll need to do is check the ceiling height. Make sure the space is tall enough for the jumping castle to fully inflate without hitting any overhead lights or beams. Most indoor venues will have a high enough ceiling, but it’s always best to double-check.
2. Use Sandbags or Weights
Since you won’t be able to use pegs or stakes indoors, you’ll need to anchor the jumping castle with sandbags or other heavy weights. Make sure to place them at each of the tether points to keep the castle secure and prevent it from shifting during use.
3. Protect the Floor
If the venue has delicate flooring (like polished wood or tiles), it’s a good idea to place a tarp or ground sheet under the castle to prevent any scuffs or damage. This also helps to keep the base of the castle clean, which makes pack-up easier.
4. Electrical Access
Most indoor venues will have easy access to power, but it’s still worth checking that there’s a socket nearby for the blower. If the power point is a bit far, bring along an extension cord that’s safe for indoor use.
Outdoor Jumping Castle Installation
Setting up outdoors has its own challenges, particularly with weather and terrain. Here’s what you need to consider:
1. Secure the Castle with Pegs
When setting up outdoors, you’ll usually need to secure the jumping castle with pegs or stakes driven into the ground. Make sure the ground is suitable – grassy areas work best, as you can easily hammer the pegs in at an angle to hold the castle firmly in place.
2. Wind Considerations
If it’s a windy day, you’ll need to take extra care. In addition to pegging down the castle, use additional tethers and weights if necessary. Always keep an eye on the wind – if it picks up too much, it’s best to deflate the castle for safety.
3. Protect the Castle from Sharp Objects
Outdoor setups often involve rough ground or areas with rocks and sticks, which can damage the inflatable. Lay down a tarp or ground sheet before unrolling the castle to protect the base from punctures.
4. Weather-Proof Your Setup
If the weather looks unpredictable, it’s wise to have a backup plan. Jumping castles don’t do well in the rain, so have a plan to move the event indoors or cover the castle if needed. Make sure the blower and any electrical cords are kept dry and away from any potential water sources.
General Tips for Both Indoor and Outdoor Setups
Regardless of whether you’re indoors or outdoors, here are a few universal tips for installing a jumping castle:
- Test the Blower: Always test the blower before the event to make sure it’s working properly.
- Follow Weight Limits: Stick to the manufacturer’s weight limits to avoid overloading the castle.
- Keep Safety First: Set up safety mats near entry and exit points to prevent trips and falls.
With these installation tips in mind, you’ll be well-prepared whether you’re setting up your jumping castle indoors or outdoors. The key is to adapt to the environment and ensure everything is secure and safe for all the fun to come!


7 Comment(s)
Hệ thống bảo mật của họ rất tốt, khiến tôi hoàn toàn an tâm khi chơi.
Tôi thích các phương thức nạp và rút tiền đa dạng mà FB88 cung cấp, rất tiện lợi.
FB88 có các trò chơi trực tuyến chất lượng cao, khiến tôi cảm thấy rất hài lòng.
Trường Tiểu học Nguyễn Trung Trực được thành lập năm 1985 có địa chỉ tại 9A Phạm Hồng Thái, phường Nguyễn Trung Trực, quận Ba Đình, Hà Nội (Nay thành phường Trúc Bạch). Trường hoạt động dưới sự quản lý của UBND quận Ba Đình và Phòng Giáo dục và Đào tạo Ba Đình. Trường được xây dựng khang trang trên diện tích hơn 3000 m2 với đủ các phòng học và phòng chức năng cho các hoạt động học tập, vui chơi, giải trí của học sinh.
Địa chỉ: Số 9A Phạm Hồng Thái - Ba Đình - Hà Nội
Email: [email protected]
website: https://c1nguyentrungtruc.badinh.edu.vn/
Điện thoại: 438261441
Trường Tiểu học Nguyễn Trung Trực được thành lập năm 1985 có địa chỉ tại 9A Phạm Hồng Thái, phường Nguyễn Trung Trực, quận Ba Đình, Hà Nội (Nay thành phường Trúc Bạch). Trường hoạt động dưới sự quản lý của UBND quận Ba Đình và Phòng Giáo dục và Đào tạo Ba Đình. Trường được xây dựng khang trang trên diện tích hơn 3000 m2 với đủ các phòng học và phòng chức năng cho các hoạt động học tập, vui chơi, giải trí của học sinh.
Địa chỉ: Số 9A Phạm Hồng Thái - Ba Đình - Hà Nội
Email: [email protected]
website: Https://kumu.io/NhacaiFB88betB88S/nhacaifb88betb88s#nhacaifb88betb88s
Điện thoại: 438261441
Trường Tiểu học Nguyễn Trung Trực được thành lập năm 1985 có địa chỉ tại 9A Phạm Hồng Thái, phường Nguyễn Trung Trực, quận Ba Đình, Hà Nội (Nay thành phường Trúc Bạch). Trường hoạt động dưới sự quản lý của UBND quận Ba Đình và Phòng Giáo dục và Đào tạo Ba Đình. Trường được xây dựng khang trang trên diện tích hơn 3000 m2 với đủ các phòng học và phòng chức năng cho các hoạt động học tập, vui chơi, giải trí của học sinh.
Địa chỉ: Số 9A Phạm Hồng Thái - Ba Đình - Hà Nội
Email: [email protected]
website: Https://s666s666s.com/
Điện thoại: 438261441
Appreciate the detailed breakdown. Each step had a clear purpose.
Leave a Comment